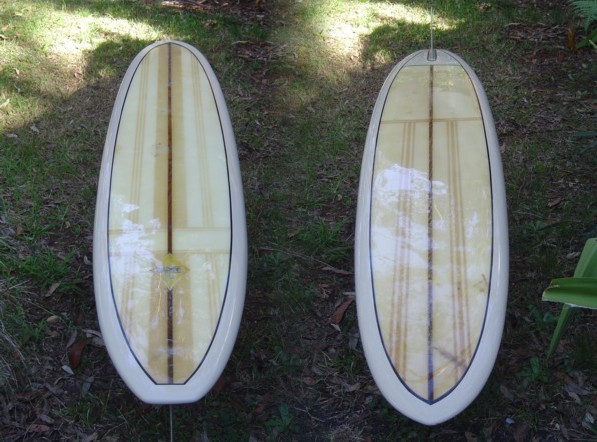
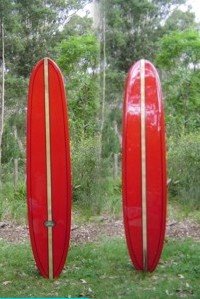
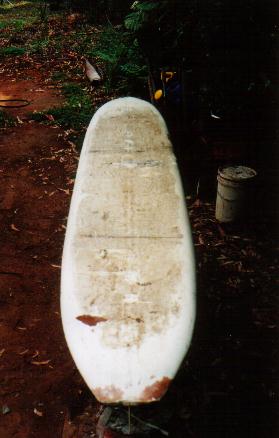
This is the board that got the restoration side of my business up and running. It is a 9'6" Gordon Woods. Built in Brookvale on Sydneys Northern Beaches. By looking at the fin, I would think it was built

around 1964/65.
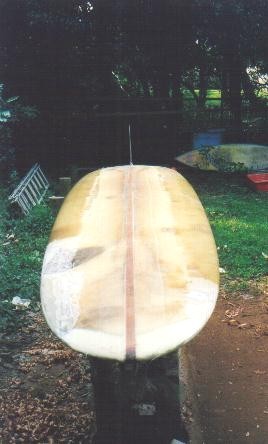
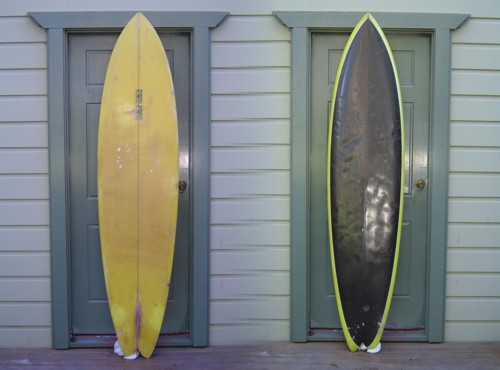
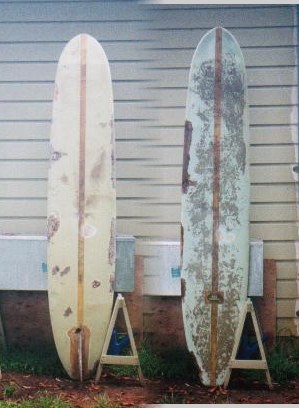
This board was purchased from a work colleague for AU $100. The deck was in good condition, apart from the manufactures logo delaminating, and some large dents in the nose. These dents I think are due to the lack of glass on the nose on the bottom. The bottom was another story. No glass, for the fist two and half feet. from the nose. This resulting in the stringer being completely rotted for the whole length of the board. The stringer may have been Pacific Maple or Western red ceder. The rails had the usual amount of dings and fractures for a board of this age. The fin was intact and in good condition.
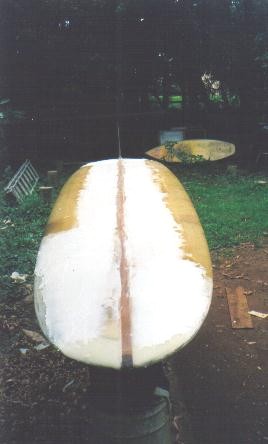
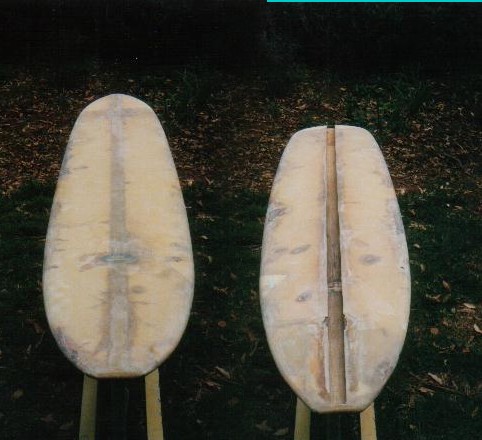
The first task was to replace the glass missing from the nose with two layers of 10 oz cloth. Next, replace the stringer, This meant cutting the glass on either side of the stringer with a diamond saw and scraping out the sludge with a chisel. The fin was not removed from the board. The original stringer was 20min wide which ment 25mm DAR fitted straight in. I laminated five lengths of 20min by 20min Pacific maple, using FGI RI 80 epoxy resin and AEROSIL silica, and clamped in place. After planing the excess timber off the stringer, 150min either side of the stringer was heavily ground and two layers of 10 oz cloth applied after sealing the stringer with a coat of resin. All the other dings where ground, reglassed and sanded. The whole board was then sanded and all the low spots filled and faired with 75% Q-CELL / 25% AEROSIL. Once fair all the filled areas were covered with one layer of 4oz cloth.
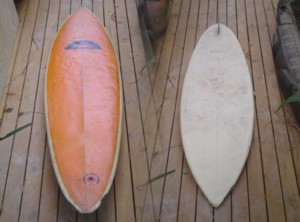
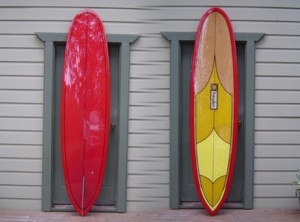
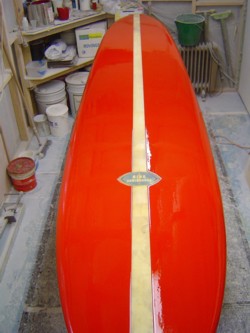
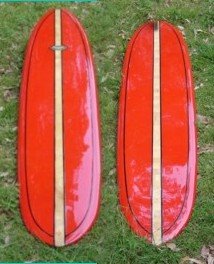
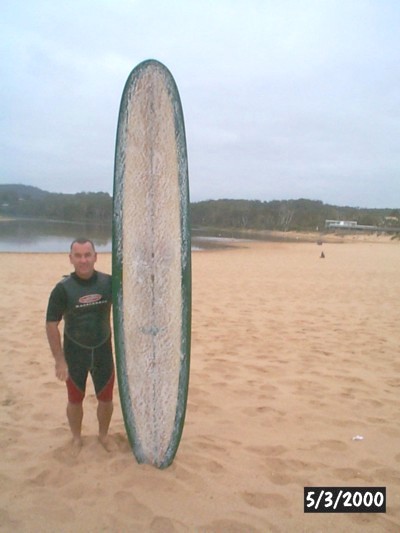
After sanding it was time for the pigment coats to hide the ugly spots. The deck was left clear as original. The rails were pigmented a dark green to the trim lines on the top and bottom. The bottom was pigmented a peppermint green leaving the stringer clear. The rails needed two coats, which has now become standard practice on all the restorations I've done since. After sanding to 1200 w&d a 1/4- black pinline was added top and bottom on the trim line. The board was then sanded with 1500 w&d and polished. The resin on the deck is original and did not need any extra work done to bring the gloss up.

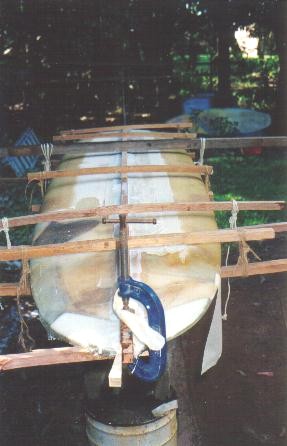
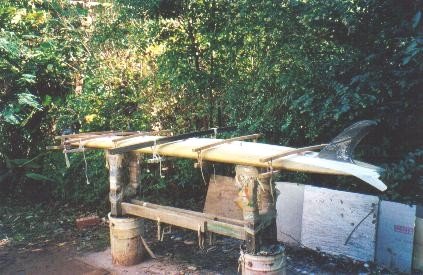
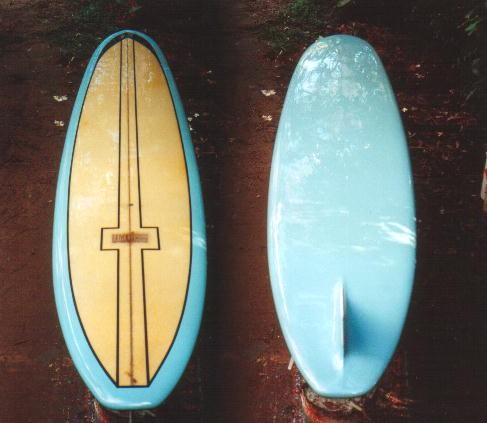
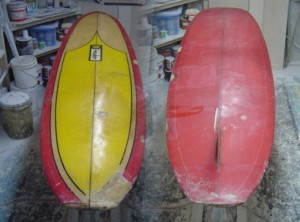
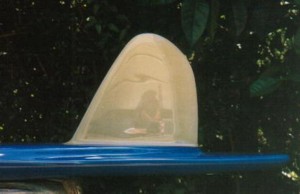
 This is the first of two Ron Surfboards to be restored. Ron Surfboards was a subsidiary company of Crane Industries. A plumbing supply company. Geoff Mc Coy started his career in the surfboard industry there. The blue pigment work is original. It is hiding some large voids in the foam on the bottom. The original fin was a plastic dork fin. This was beyond repair and was replaced. The area under the fin was badly water damaged and had to be re built. There had been an attempted restoration a some point. It was decided not to re do the pigment work as the covered foam was quiet white and the reversing effect looked good.
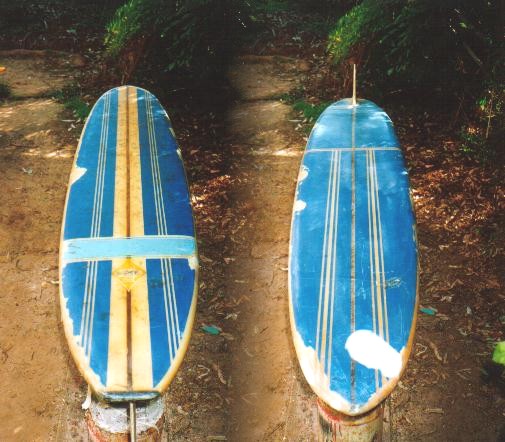

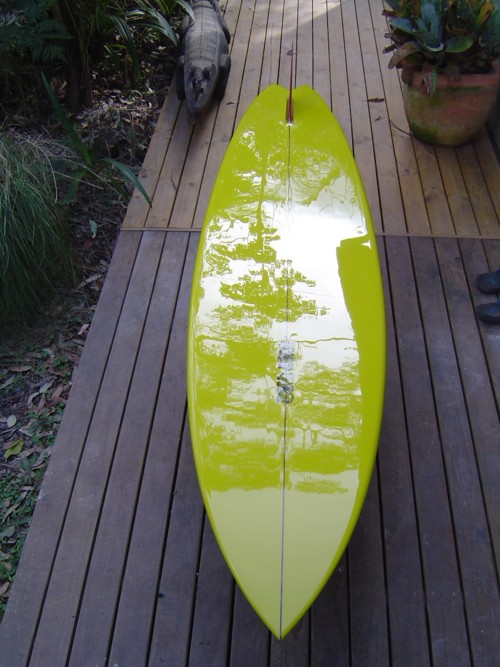


 The stringer, fin and logos were masked off. The rails up to the original pinlines were also masked. Then auto acrylic paint was applied.
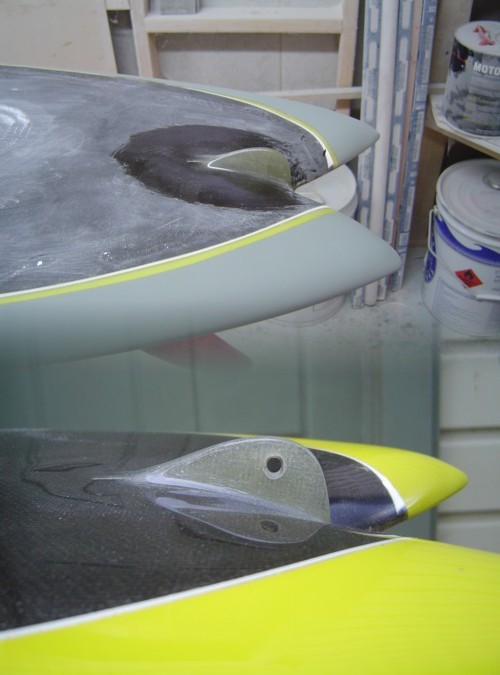
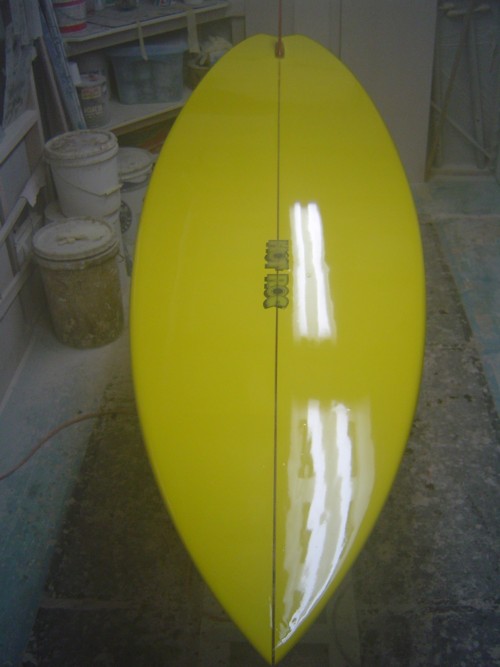

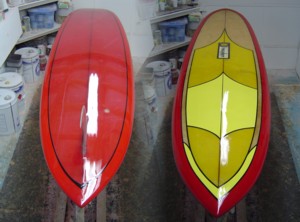


 The gloss coats were wet and dry sanded with 600, 1200 and 1500 and the machine polished.
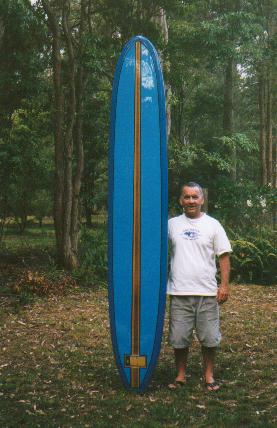


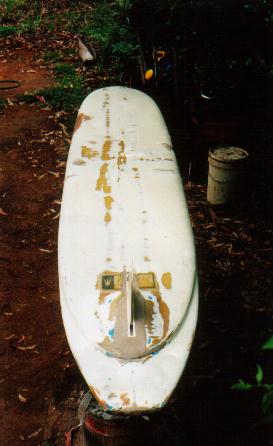


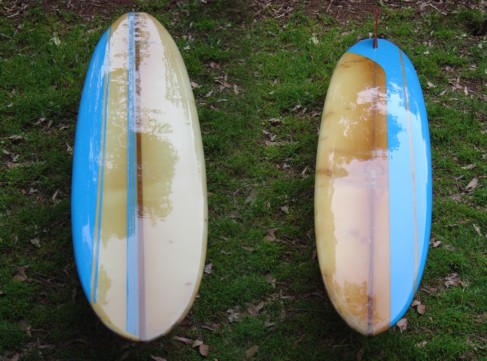
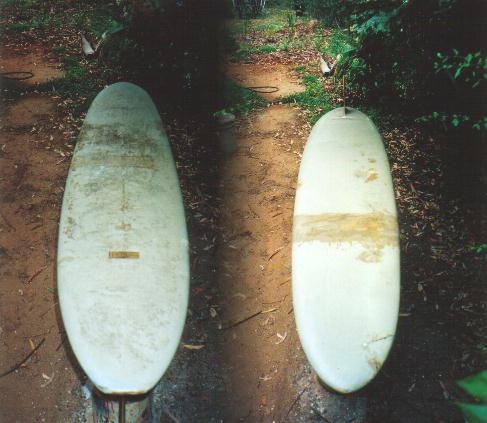
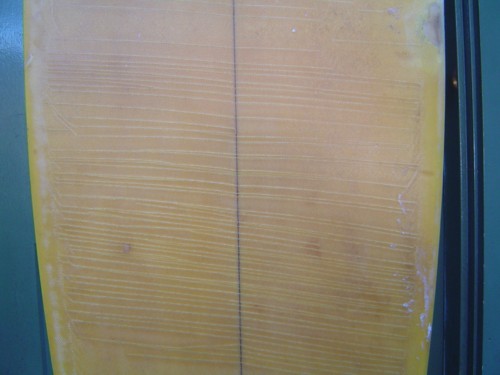
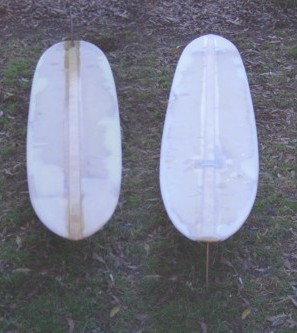
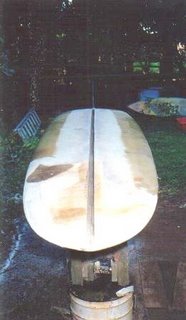 The bottom is ready for the new stringer